What is Annotation in NICE CXone?
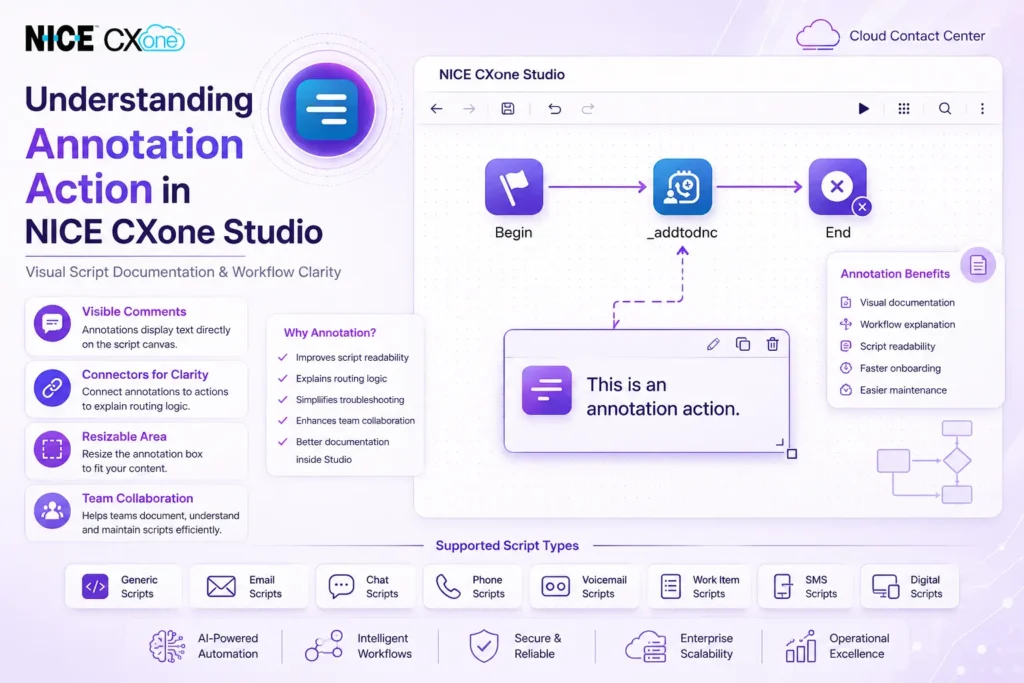
The Annotation action in NICE CXone Studio allows developers and administrators to add comments, explanations, or notes directly on the script canvas.
It is mainly used to improve script readability and help teams understand the purpose of workflows, routing logic, or specific actions inside the script.
Unlike regular actions, Annotation does not perform any call-processing task. Instead, it acts like a visual documentation tool inside the Studio environment.
Annotation vs Note Action
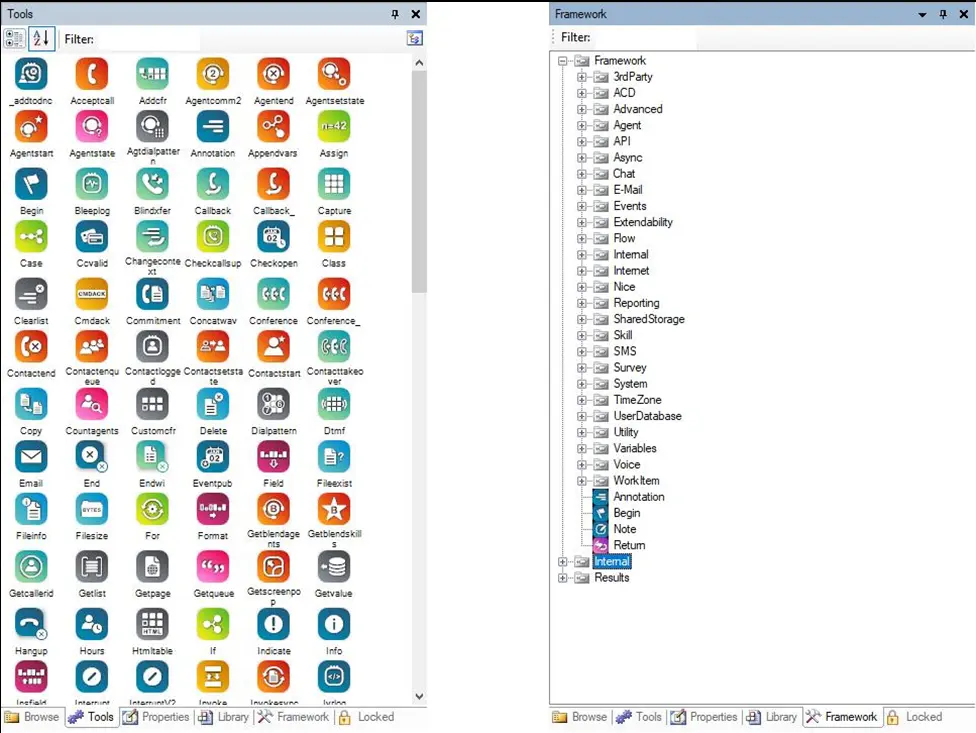
Both Annotation and Note actions are used for adding comments in scripts, but they work differently.
Feature | Annotation | Note |
Visible on Canvas | Yes | No |
Can Connect to Actions | Yes | No |
Used for Visual Explanation | Yes | Limited |
Resizable Area | Yes | No |
The biggest advantage of Annotation is that you can visually connect it to another action to explain what that action does.
Key Features of Annotation Action
Visible Comments on Script Canvas
Annotations display text directly on the canvas, making scripts easier to understand.
Connectors for Better Clarity
You can connect an Annotation to a specific action to explain routing logic or workflow behavior.
Resizable Comment Area
The annotation box can be resized based on the amount of text you want to display.
Helpful for Team Collaboration
Annotations help developers, trainers, and administrators understand complex scripts quickly.
Supported Script Types
The Annotation action supports multiple script types in NICE CXone Studio, including:
- Generic Scripts
- Email Scripts
- Chat Scripts
- Phone Scripts
- Voicemail Scripts
- Work Item Scripts
- SMS Scripts
- Digital Scripts
This makes Annotation useful across almost every communication workflow in NICE CXone.
How Annotation Works
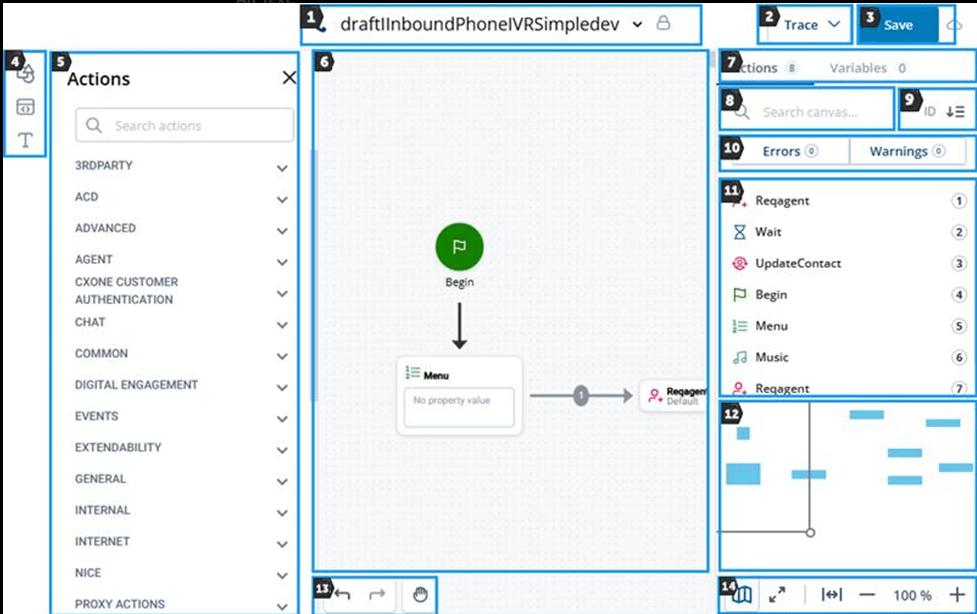
Step 1 — Drag Annotation to Canvas
Drag the Annotation action from the action library into your script canvas.
Step 2 — Resize the Annotation Area
Use the bottom-right corner to expand or reduce the text area.
Step 3 — Add Comments
Enter your explanation in the Properties panel or use the string editor.
Step 4 — Connect to an Action
Use connectors to visually indicate which action the annotation refers to.
Example Use Case
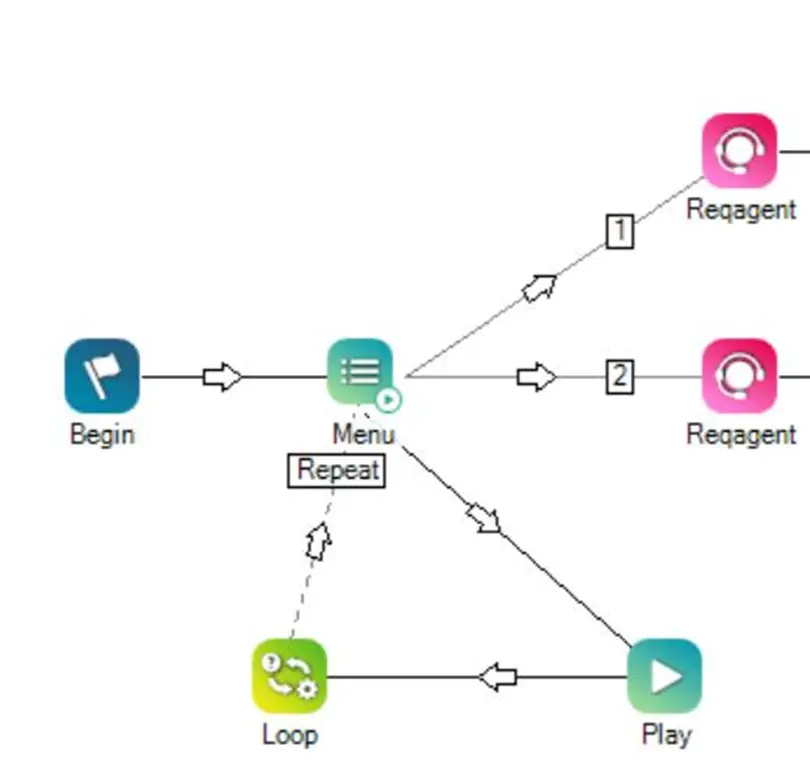
Imagine you are building an inbound call routing flow.
You may use Annotation to explain:
- Why a specific queue is selected
- How IVR routing works
- Which actions handle business hours
- Why a condition is configured
This becomes extremely useful when multiple administrators manage the same script.
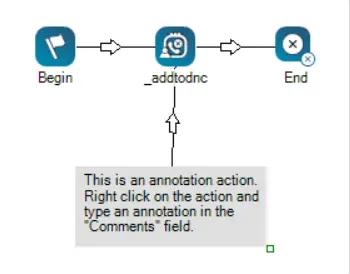
Example Annotation Action in NICE CXone
The following image shows:
- Expanded annotation area
- Custom text inside the annotation box
- Connector linked to another action
- Visual explanation of workflow logic
Benefits of Using Annotation in NICE CXone
- Improves script readability
- Simplifies troubleshooting
- Helps new administrators understand workflows
- Makes enterprise scripts easier to maintain
- Enhances documentation inside Studio
Script Example
The following image shows an expanded size of the annotation area, custom text within the area, and the connector that connects to an action. Typically a connector is used to show a relation between the comment and the connected action.
Conclusion
The Annotation action in NICE CXone Studio is a simple but powerful feature for documenting and organizing scripts. By adding visible comments and connecting them to actions, teams can better understand complex routing workflows and maintain scripts efficiently-NICE CXone Training.
